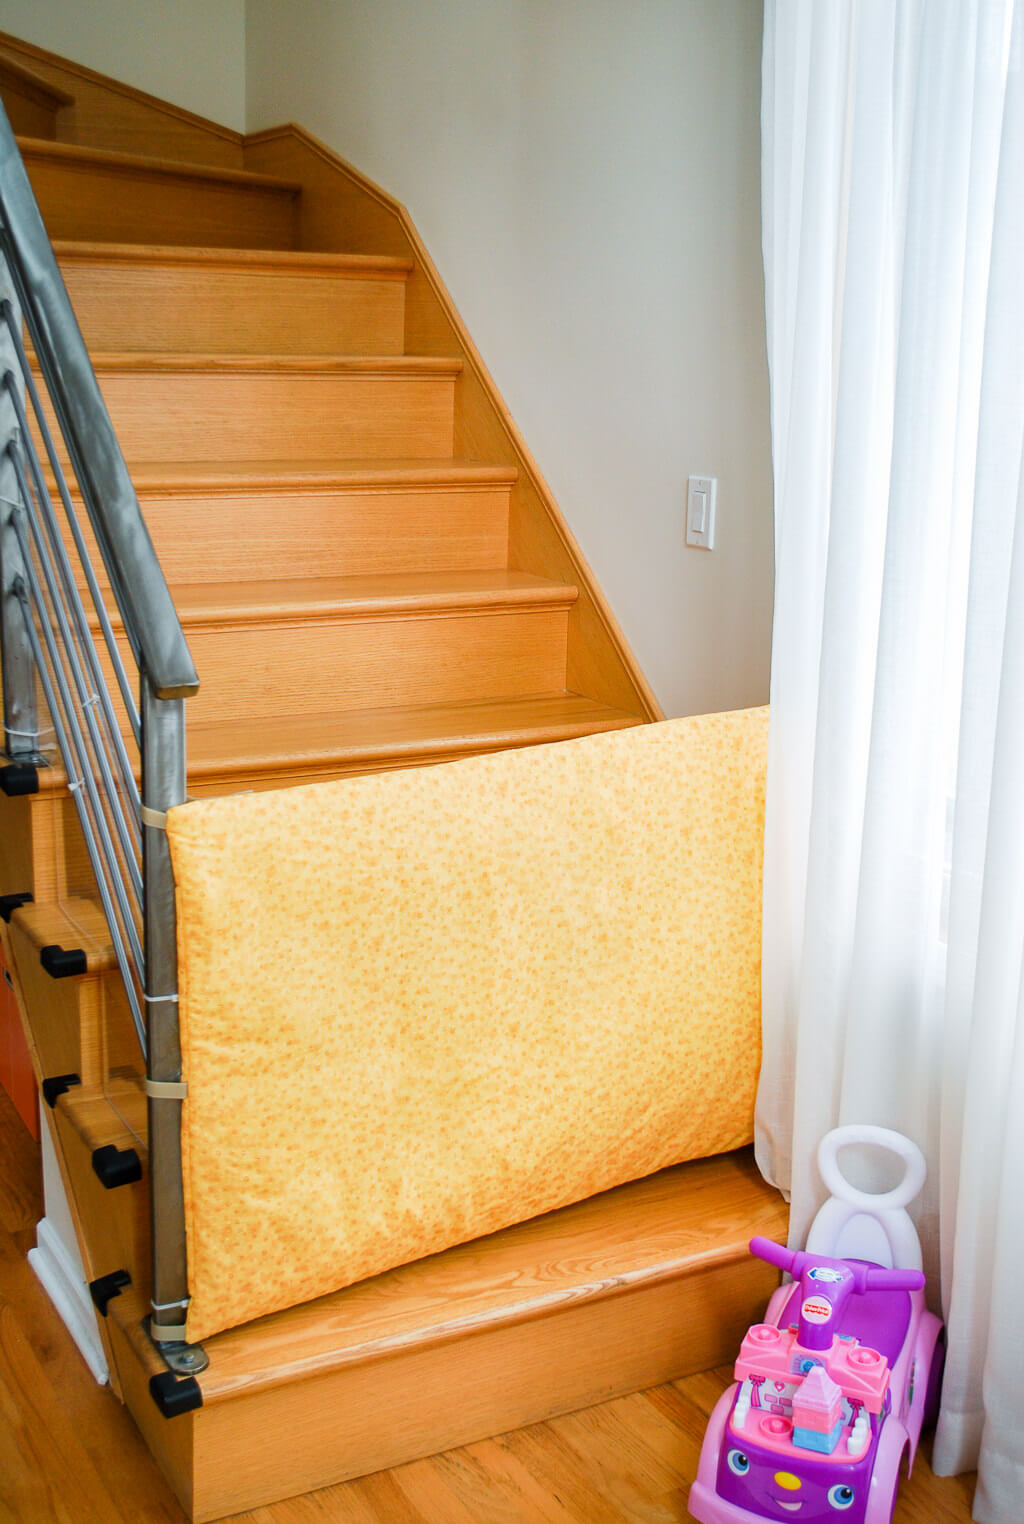
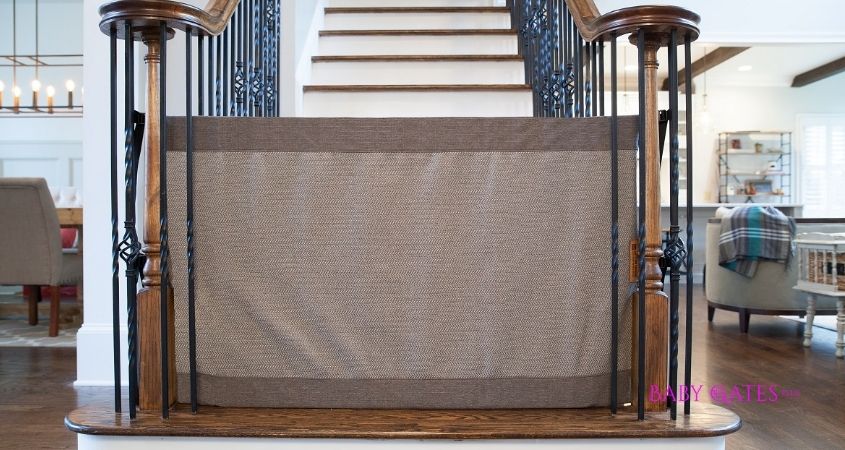
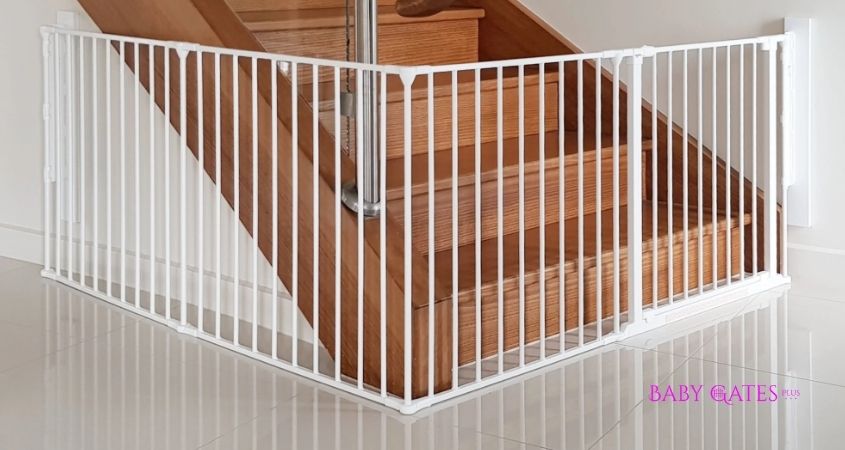
Looking for a safe, stylish way to keep your little one secure? You’re in the right place.
This DIY fabric baby gate free sewing pattern lets you create a soft, sturdy barrier that fits your home perfectly. No more bulky, hard gates that clash with your décor or take up too much space. With simple steps and easy materials, you’ll have a custom baby gate that’s both practical and charming.
Ready to protect your child while adding a personal touch? Keep reading, and let’s get started!
Gathering the right materials is key to making a safe and sturdy fabric baby gate. The right supplies make sewing easier and ensure the gate lasts long. This section covers the essential materials for your DIY project.
Fabric Selection
Choose a strong, durable fabric that can handle wear and tear. Canvas or heavy cotton works well. Pick a fabric that is easy to clean and safe for babies. Avoid thin or stretchy materials. Solid colors or simple patterns fit most home styles.
Sewing Tools
Prepare basic sewing tools for smooth crafting. A sewing machine speeds up the process. Keep sharp scissors handy for cutting fabric cleanly. Use pins or clips to hold fabric pieces together while sewing. A measuring tape helps get exact sizes.
Additional Supplies
Extra items improve the baby gate’s function and safety. Strong thread matches your fabric color. Velcro strips or snaps work for closures. Soft foam or batting adds cushion to edges. Consider a fabric stiffener for extra support.
Preparing The Pattern
Start by selecting the right fabric and measuring carefully. Cut the pieces according to the free sewing pattern. Keep edges neat for easy sewing later.
Printing And Assembling
Start by printing the pattern pages on regular letter-sized paper. Use the actual size or 100% scale setting. Avoid “fit to page” options to keep dimensions accurate. Cut out each printed pattern piece carefully along the solid lines.
Lay the pieces on a flat surface following the guide marks. Match the edges and align the symbols like arrows or dots. Use tape or glue to join the pieces securely. Check that all parts fit together smoothly before cutting fabric.
Adjusting For Size
Measure the doorway or area where the baby gate will go. Compare these measurements with the pattern dimensions. If needed, increase or decrease the pattern size evenly. Use a ruler to extend or shorten lines on the paper pattern.
Keep the shape balanced to avoid uneven edges. Adjust the seam allowance if changing size significantly. Always double-check your changes before cutting fabric. This step ensures a perfect fit for your space and baby safety.
Cutting The Fabric
Cutting the fabric is a key step in making your DIY fabric baby gate. Accurate cutting ensures the pieces fit perfectly. It helps your sewing go smoothly and the gate looks neat. Take your time and follow the pattern closely.
Marking The Pieces
Start by laying your fabric flat on a clean surface. Place the pattern pieces on the fabric. Use a fabric marker or chalk to trace around each piece carefully. Mark all notches and seam lines clearly. Double-check your markings before cutting to avoid mistakes.
Cutting Tips
Use sharp fabric scissors for clean edges. Cut slowly along the marked lines. Keep the fabric flat and steady. Avoid lifting the fabric while cutting. Cut one piece at a time to stay precise. Save your scraps for future patchwork or small repairs.
Sewing the panels is a key step in creating your fabric baby gate. This part shapes the overall structure and strength. Taking care during sewing ensures safety and durability. Follow each step carefully to make neat and strong panels.
Stitching Seams
Start by aligning fabric pieces with edges matching. Use pins to keep them in place. Stitch straight seams using a medium stitch length. Backstitch at the start and end to lock stitches. Keep seam allowances consistent for even edges. Press seams open with an iron for a flat finish.
Reinforcing Edges
Edges face the most wear and tear. Fold edges twice to create a clean hem. Sew close to the fold to secure it firmly. Use a zigzag stitch or overlock stitch for extra strength. Reinforce corners with extra stitching to prevent fraying. Strong edges help the gate last longer and stay safe.
Adding Fasteners
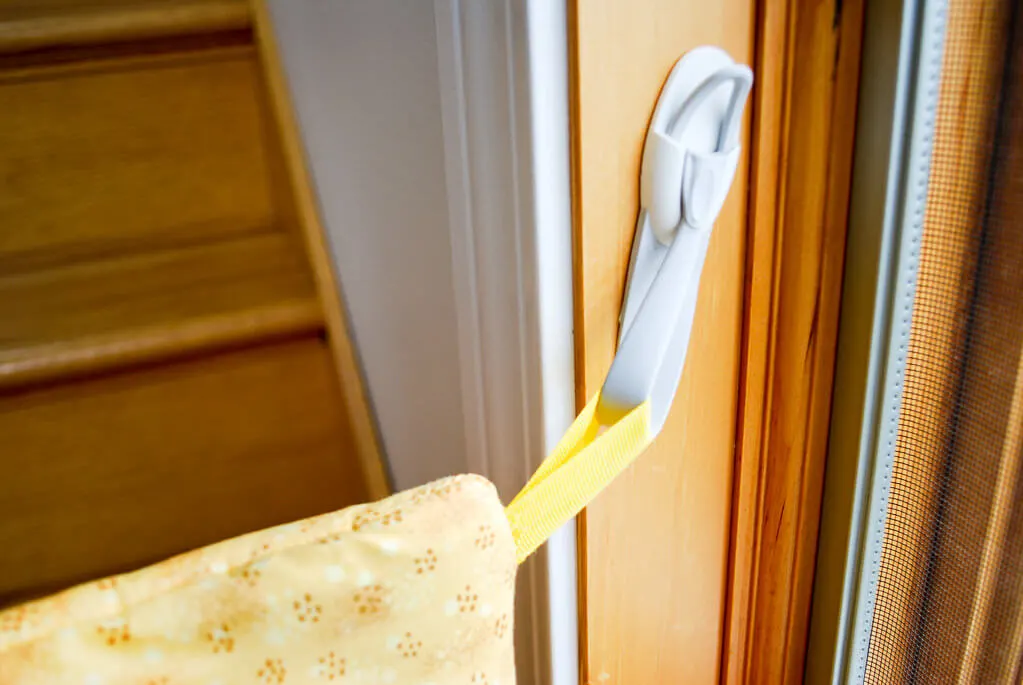
Adding fasteners to your DIY fabric baby gate is an important step. Fasteners keep the gate secure and easy to open or close. Choosing the right type makes a big difference. Some fasteners are stronger, while others are easier to use. This section will help you pick and attach the best fasteners for your project.
Choosing Closure Types
Pick fasteners that are safe and simple to use. Velcro is soft and easy to sew. It holds well but may wear out over time. Snaps are stronger and last longer. They need special tools for attaching. Think about how often you will open the gate. Choose closures that fit your needs and skills.
Attaching Velcro Or Snaps
To attach Velcro, sew the pieces on both sides of the fabric. Use strong thread and tight stitches. Make sure Velcro strips line up perfectly. For snaps, mark where each snap will go. Use a snap tool or pliers to press them in place. Test the fasteners to ensure they hold securely. Replace any loose or worn pieces quickly.
Credit: www.safebasementsinc.com
Assembling The Gate
Assembling the fabric baby gate is a simple and rewarding part of this DIY project. You will see your creation take shape quickly. Follow each step carefully to ensure a sturdy and safe gate.
Connecting Panels
Start by lining up the fabric panels side by side. Match the edges carefully to keep the gate even. Use strong thread or fabric glue to join the panels together. Sew along the edges with neat, tight stitches. Double stitch for extra strength. Check that the fabric remains flat and smooth as you work. The panels should form a solid barrier with no gaps.
Final Adjustments
After connecting the panels, check the gate for any loose threads or uneven areas. Trim any excess fabric to keep the edges clean. Test the gate’s flexibility by gently bending it. Make sure it folds or adjusts as needed. Add any final reinforcements like extra stitches or fabric strips. Confirm that the gate fits the intended doorway or space perfectly. Your fabric baby gate is now ready for use.
Safety Tips
Safety is the top priority when creating a fabric baby gate. A well-made gate keeps your child secure and prevents accidents. Follow these safety tips to make sure your DIY fabric gate works well and protects your little one.
Ensuring Stability
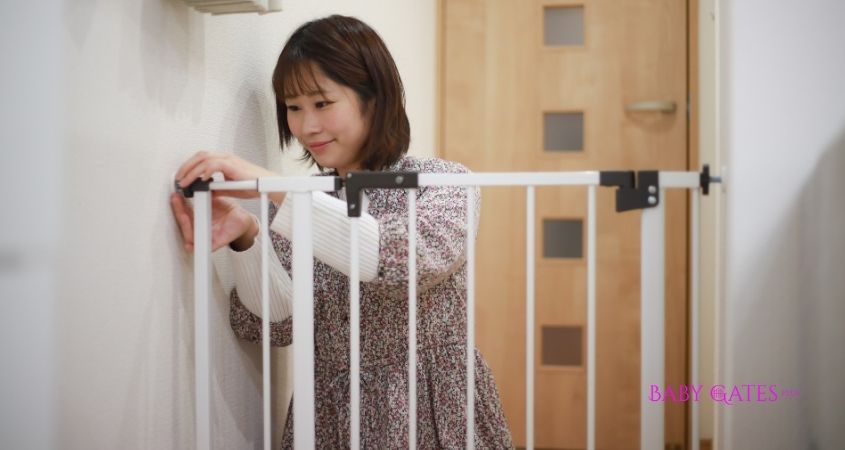
Make sure the gate stays firmly in place. Use strong materials that do not stretch or sag. Attach the gate securely to the wall or door frame. Check all seams and fastenings for durability. Test the gate by applying gentle pressure to confirm it won’t move easily.
Childproofing Techniques
Choose fabric that is safe and free from loose threads. Avoid small parts that could come off and pose choking hazards. Use fasteners that children cannot open by themselves. Keep the gate height tall enough to prevent climbing. Regularly inspect the gate for wear and tear to maintain safety.
Taking care of your DIY fabric baby gate keeps it safe and looking good. Proper maintenance extends the life of the gate. It also ensures it stays clean and comfortable for your child.
Regular care helps prevent damage and makes repairs easier. You will save time and money by keeping the gate in good shape. Follow simple steps to clean and fix your fabric baby gate.
Cleaning Instructions
Use a soft brush or cloth to remove dust and dirt. Spot clean stains quickly with mild soap and water. Avoid harsh chemicals that can damage the fabric.
For deeper cleaning, hand wash the fabric parts gently. Let the fabric air dry fully before reassembling the gate. Avoid machine washing unless the pattern says it is safe.
Repairing Wear And Tear
Check the fabric regularly for holes or loose threads. Sew small tears with matching thread to prevent bigger rips. Replace any worn-out parts like straps or fasteners promptly.
Reinforce edges with extra stitching to strengthen weak spots. Use fabric glue for quick fixes on minor frays. Keeping the gate in good repair keeps your child safe.
Credit: www.merrimentdesign.com
Frequently Asked Questions
What Materials Are Needed For A Fabric Baby Gate?
You need sturdy fabric, sewing thread, Velcro or snaps, foam padding, and a sewing machine. Choose durable materials for safety and comfort.
How Do I Sew A Diy Fabric Baby Gate?
Cut fabric pieces, sew edges, add padding, and attach Velcro or snaps. Follow the free sewing pattern step-by-step for best results.
Is A Fabric Baby Gate Safe For Toddlers?
Yes, if made with strong materials and proper fastening, it can be safe. Always supervise toddlers around any gate.
Can I Customize The Fabric Baby Gate Design?
Absolutely! You can choose colors, patterns, and sizes to match your home décor and needs.
Conclusion
Creating a fabric baby gate at home saves money and adds a personal touch. The free sewing pattern makes the project simple and fun. You can choose fabric that fits your style and needs. This gate keeps your baby safe while looking nice.
Try this easy project to protect your little one today. Sewing your own gate gives pride and peace of mind. It’s a great way to use your skills and care for your baby.